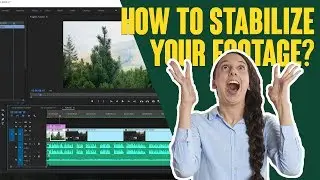
HOW TO STABILIZE YOUR FOOTAGE IN ADOBE PREMIERE WITH WARP STABILIZER? | WORKS FOR AFTER EFFECTS!
Welcome to a cup of skills, my friend! Today we are talking about how to stabilize your footage in post production, for example, in adobe premiere pro or after effects.
Go to effects and type in warp - choose warp stabilizer and drag it on your clip. Now it automatically starts analyzing it. But, you need to know about some problems, that can happen with analyzing your footage.
First common problem is that your footage has the resolution, that is different from your sequence.
Second problem is that you've already changed the speed of your clip.
So, the one and only solution to these problems is nesting the clip. at first delete warp stabilizer from the clip, then hit the right button and choose nest - press OK and now you have a nested sequence here. you can open it as usual sequence to see, what you have there. OK, now you can apply warp stabilizer to your nested sequence. I usually prefer about 2% strength and choose position, scale and rotation. It works fine for me. Of course, it depends on your clip, so you need to figure it out yourself, what are the best settings for your video. You need to understand, that not all of the clips can be stabilized good, so when shooting video, try to do it as smooth as you can. then apply stabilizer and get the amazing results!
Subscribe to my channel to see more videos like this! See you in the next cup of skills!
#premierepro #editing #warpstabilizer