IMPROVE YOUR VOICE IN ADOBE AUDITION IN 2 MIN!
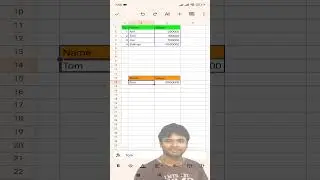
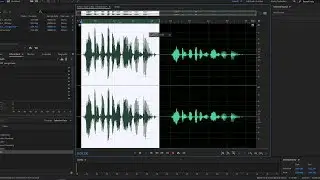
Welcome to a cup of skills, my friend! Today I wanna talk about one method of voiceover improvement in Adobe Audition. This method isn't mine and i will place links to the source in the description below. So let's hear a stock audio for our tutorial. Now, Let's hear the final result. Ok, let's try to repeat this amazing result again. At first I usually do noise reduction and only after that i can move next. There are 4 steps ahead: eq, normalize, compress, normalize again. Let's start with equalizer. You need to highlight you area which you gonna work with and then go to effects - filter and eq - parametric equalizer. You need to choose loudness maximizer. Press apply and then again go to effects - amplitude and compression - normalize. You can play with the percentage here, but i prefer 95 percent. Press apply and then go to effects - amplitude and compression - dynamic processing. And here you should do the same graph as do I. Ok, now you need to repeat normalization and that's basically it! And if you want to speed up this steps, all you need to do is to record your actions. Go to favorites and choose start recording favorite. Give it a name you want and after that you need to redo all of the actions again in the correct order. But remember, that noise reduction shouldn't be recorded here, because each time it's too much individual. Eq, normalize, compress, and normalize again. Then you press stop recording favorite. Press alt + k and choose favorites here - then find your name and choose the button you want.
Source:
https://www.darrenaltman.com/
• ОБРАБОТКА ГОЛОСА в Adobe Audition за ...
Subscribe to my channel to see more videos like this! See you in the next cup of skills! Good luck!