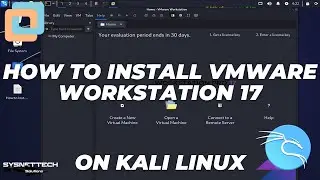
How to Install VMware vSphere Hypervisor ESXi 8.0 on a PC or Server | Install Like a Pro! 💥🖥️
Our video tutorial shows how to install VMware vSphere Hypervisor ESXi 8.0. It gives simple steps and explains the software and hardware you need. Follow the guide to install the ESXi 8.0. Then, you will have your system ready for virtualization.
🔔 𝗦𝗨𝗕𝗦𝗖𝗥𝗜𝗕𝗘 & 𝗡𝗢𝗧𝗜𝗙𝗜𝗖𝗔𝗧𝗜𝗢𝗡𝗦 🔔
💖 Please subscribe, as we need more support. Thank you! 🤲 ► http://goo.gl/8d0iG9
📖 𝗥𝗘𝗔𝗗 𝗧𝗛𝗘 𝗙𝗨𝗟𝗟 𝗔𝗥𝗧𝗜𝗖𝗟𝗘 📖
Detailed insights in our comprehensive article! ► https://www.sysnettechsolutions.com/e...
Preparing Bootable ISO with Rufus: 0:00
Installing ESXi: 1:50
Connecting to ESXi Server: 16:40
Below are the detailed steps that you should follow to install vSphere ESXi on your computer:
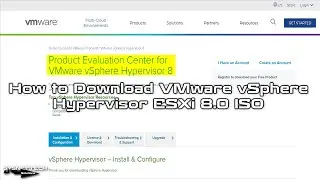
Step 1: First, you need to download the ESXi ISO file from VMware's official website. Once you download the file, you will need to burn it to a flash drive using Rufus. This will make a bootable flash drive that you can use to install vSphere ESXi.
Step 2: After you have made the bootable flash drive, connect it to your host PC and start your machine. During the boot process, you will need to specify the flash drive as the boot device to load the ESXi installer.
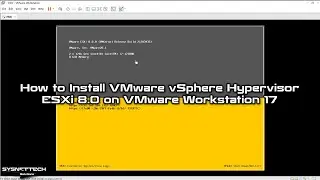
Step 3: Once the installer has loaded, you will see the welcome screen. Here, it would help if you waited for the installer to load all the necessary files and modules.
Step 4: After the installation, you will see the ESXi welcome screen. So, this screen gives you an introduction and invites you to explore its easy-to-use features.
Step 5: Next, you will need to accept the end-user license agreement. To do so, press F11.
Step 6: The installer will now look for available devices. That is, I recommend waiting for the scan to finish.
Step 7: When the scan is done, you will choose the disk for installation. Look at the list carefully. Once you've made your choice, select a disk from the available options. Then press Enter to move on to the next step.
Step 8: Choosing the keyboard layout is easy. Just follow the stages on the screen and press Enter. In short, this will help you select the right option.
Step 9: Now, you must produce a solid and hard-to-guess Root password for your server. Enter the password and press Enter.
Step 10: You will see a CPU warning screen; press Enter to continue.
Step 11: Press F11 to begin the installation of ESXi 8.0.0.
Step 12: Once the installation is done, your server or PC will restart.
Step 13: After the server restarts, type in the IP address you got from DHCP. Then, enter that address in Chrome or Edge and press Enter.
Step 14: On the vSphere login screen, enter the username and password. Then, click the "Sign In" button. Actually, this will allow you to access your host computer.
By following these steps, you can install vSphere ESXi on your computer. You can also start managing your host. In this way, your system will be fully configured.
🎥 LATEST POPULAR VIDEO TUTORIALS 🎥
━━━━━━━━━━━━━━━━━━━━━━
1️⃣ • How to Create Virtual Machine for VMw...
2️⃣ • How to Create New Virtual Machine in ...
3️⃣ • How to Add ISO Files to Datastore in ...
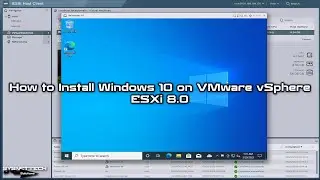
4️⃣ • How to Install Windows 10 on VMware v...
5️⃣ • How to Install Ubuntu on VMware vSphe...
🌐 FOLLOW US ON SOCIAL PLATFORMS 🌐
━━━━━━━━━━━━━━━━━━━━━━
📘 Facebook: / sysnettechsolutions
🐦 Twitter: / sysnettechs
🔗 LinkedIn: / tolqabaqci
📸 Instagram: / sysnettech_solutions
📌 Pinterest: / sysnettechs
👍 Don't forget to follow us for updates! 🚀
━━━━━━━━━━━━━━━━━━━━━━