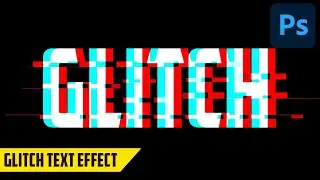
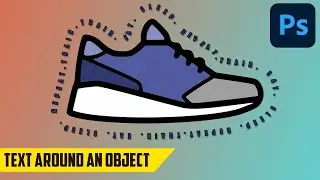
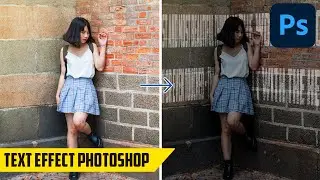
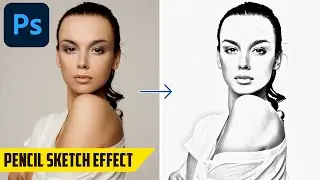
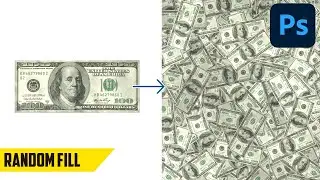
How to Create a Glitch Effect - Photoshop Tutorial
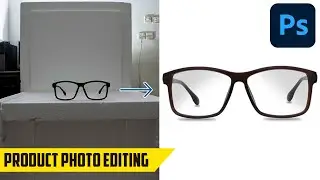
In this tutorial I will show you the fastest way to create a Glitch Effect in Photoshop. With few clicks you are done. So first you need to make a duplicate of the layer and after that you need to go to the channels and select only the red channel and after that unhide the RGB channel. Now go to Filter - Distort - Shear and move the top and bottom sliders slightly to the right and click OK. The 3D effect is now done, double click on the layer and add a Pattern Overlay and select the third pattern from the stock patterns, make the layer Overlay and play around with the opacity. How if you want you can add a Solid Color Adjustment Layer with the blending mode to Overlay to add some extra effect to the photo. Now with the Marquee Tool select and move parts of the photo holding the CMD key on your keyboard or CTRL on Windows. If you want before starting to work for the Glitch Effect you can add text to the photo and merge it with the duplicate layer.
Shop my Lightroom Mobile Presets for just a Dollar at http://dollarpresets.com
Website: http://coolphototuts.com
Follow us on Social Media:
Instagram: / coolphototuts
Twitter: / coolphototuts
Facebook: / coolphototuts
My Gear
Camera: Lumix G7 4K Wi-Fi - https://amzn.to/3ijyoni
Computer: iMac 27inch Retina - https://amzn.to/2XKGzjd
Mouse: Logitech MX Master - https://amzn.to/3bLDibt
Keyboard: Apple Magic Keyboard - https://amzn.to/39FuGQW


![HOW TO GET FISHMAN KARATE + SHOWCASE! [SQUARE PIECE]](https://images.mixrolikus.cc/video/hYK8KdZ8dW4)