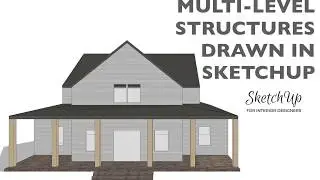
Drawing Multi-Level Structures in SketchUp
🖥️ Get your FREE SketchUp 101 course...
👉 https://courses.sketchupforinteriorde...
📌 Join the SketchUp for Interior Designers membership for access to ALL of my online courses....
👉 https://SketchUpforInteriorDesigners.com
📸 Follow Tammy on Instagram...
👉 / sketchupfordesigners
🧰 Tools Tammy Loves:
👉 https://sketchupforinteriordesigners....
✉️ Want to get in touch?
👉 Email: [email protected]
________________________________________________________
Video summary:
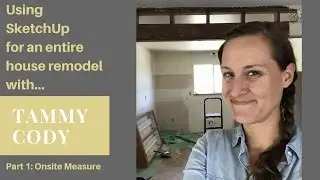
I received a question from a designer asking what method I use to draw 2 story homes in SketchUp. Here is a short overview of two possible methods for adding a second level to a home.
Method #1, would be drawing the first floor, and the second floor separately, and then placing one on top of the other. This method is pretty straightforward, simply draw each floor plan side by side. Group each of them separately, them move the second story on top of the first story. The downside of this, is if you don’t draw the top floor to the near exact dimensions, it may not line up quite the way you were hoping. Especially where the rooms are open to the story above or below it, like lofts and stairwells.
So a better way to do it would be Method #2.
Build your first floor per usual. If you have taken my floor plan course and/or 3D modeling course, you know how to do this. And you know that everything will be part of a group, so that when we go to build the ceiling and second story on top of the first floor, nothing will stick to it.
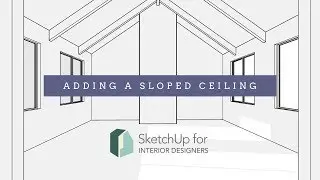
In the case of this building, my second floor is at the same level as the patio roofline, so I’m going to draw a rectangle across the entire space. Group it together, double click to work within it, pull it up 6 or 8”, and now I can draw my walls on the face of this using the walls below as a guide as needed, and pull them up. Now creating stairwells and lofts will be much easier.
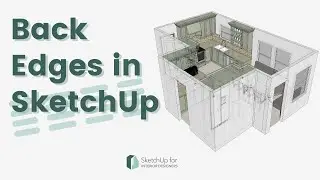
If we have an edge that is separating the faces between the lower and upper stories, simply double-click into that group and hide that edge. (E + hold shift + click on the edge.) You’ll need to do this for both groups to hide the edges.