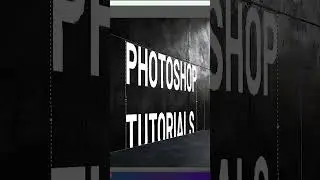
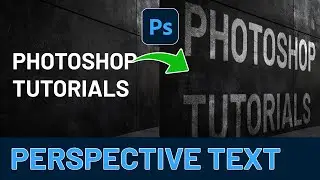
Perspective text in Photoshop - How to Tutorials For beginners
Creating perspective text in Photoshop is an exciting way to add depth and visual interest to your designs. Here's a step-by-step explanation of how to achieve this effect:
Create a new document with the desired dimensions for your project. Once you have a blank canvas, select the Text Tool from the toolbar on the left side of the screen. Click on your canvas to create a text layer and type out the word or phrase you want to apply the perspective effect to.
With your text layer selected, go to the top menu and choose "Edit," then "Transform," and finally "Perspective." You'll notice that your text is now surrounded by a bounding box with handles on each corner. To create the perspective effect, click and drag one of the top corners of the bounding box. As you do this, you'll see the text begin to skew and appear as if it's receding into the distance.
Adjust the perspective by dragging the corner handles until you achieve the desired look. You can also use the bottom corners to create a different perspective if needed. Once you're satisfied with the perspective, press Enter or click the checkmark in the options bar to apply the transformation.
To enhance the 3D effect, you might want to add a shadow. Create a new layer beneath your text layer, then use the Brush Tool with a soft, black brush to paint a shadow where it would naturally fall based on your perspective. Adjust the opacity of the shadow layer to make it look more realistic.
For an even more dramatic effect, consider duplicating your text layer and applying a different perspective transformation to create a sense of depth. You can also experiment with layer styles like bevel and emboss to give your text a more three-dimensional appearance.
Remember to save your work frequently as you make these adjustments. With practice, you'll be able to create stunning perspective text effects that add a professional touch to your Photoshop projects.