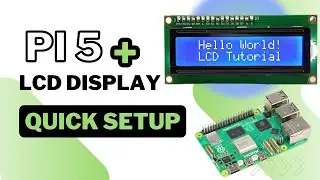
Raspberry Pi 5 LCD Display: The Ultimate Setup Guide
How to Connect a 16x2 LCD Display to Raspberry Pi 5 | Full Tutorial
Welcome back to Raspberry Pi Made Easy! In this video, we're diving into a hands-on project that's both fun and practical: connecting a 16x2 LCD display to your Raspberry Pi 5. By the end of this tutorial, you'll be able to display custom messages on your screen, making your Raspberry Pi projects even more interactive.
🔧 What You'll Need:
Raspberry Pi 5
16x2 LCD Display
Jumper wires
1 kΩ resistor
Breadboard
📌 Timestamps:
00:00 - Introduction
00:39 - Materials Needed & 16x2 LCD Background
01:14 - Hardware Connections & Wiring Setup
03:06 - Python Coding & GPIO Explanation
04:15 - Conclusion & Next Steps
💡 Essential Talking Points:
Understanding the 16x2 LCD Display: Learn about one of the most widely used displays in DIY Raspberry Pi projects. It displays 16 characters per line on two lines, perfect for simple text outputs.
Hardware Connections: Step-by-step guide on how to interface the 16x2 LCD with Raspberry Pi 5 using GPIO pins. We'll operate the LCD in 4-bit mode to reduce the number of required connections.
GPIO Pin Setup: Detailed explanation of setting up GPIO pins on the Raspberry Pi 5 for controlling the LCD display.
Python Coding for LCD Control: Follow along as we write Python code to initialize and control the LCD using the GPIO library. We'll cover functions like lcd_init(), lcd_byte(), and lcd_string().
Displaying Custom Messages: See how to display custom text on the LCD, making your Raspberry Pi 5 projects more engaging.
📂 Code & Resources:
Access the complete Python code here:
https://bit.ly/41vdJ8v
🌐 Join Our Community!
Subscribe to our newsletter for more tutorials and project ideas: https://bit.ly/41vdJ8v