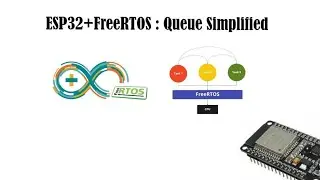
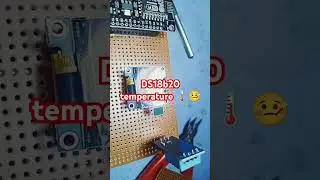
FreeRTOS ESP32 Tutorial | esp32 FreeRTOS example | Led Blinking Example
This esp32 freertos example is to demonstrate that how we can use FreeRTOS in Arduino IDE for ESP32 boards. If you have not watched our previous video of how to use the ESP32 board in Arduino IDE here is the link to that video.
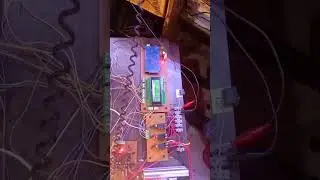
But this video purpose is to demonstrate how FreeRTOS is different while being used on Dual core system like ESP32 board. We will be using ESP32 Wrom NodeMCU board. Upcoming video will be how to use FreeRTOS task handle to suspend and resume handle. That video link will be given into this description as well. Here is the complete code for this tutorial.
NextVideo: • ESP32+FreeRTOS: Task Suspension and T...
// Define the onboard LED pin for ESP32 (typically GPIO 2)
#define LED_PIN 2
// Task handle
TaskHandle_t ledTaskHandle = NULL;
void ledTask(void *pvParameters) {
// Retrieve the core number the task is running on
int core = xPortGetCoreID();
for (;;) {
// Toggle the LED
digitalWrite(LED_PIN, HIGH);
Serial.printf("LED ON - Running on core %d\n", core);
vTaskDelay(1000 / portTICK_PERIOD_MS);
digitalWrite(LED_PIN, LOW);
Serial.printf("LED OFF - Running on core %d\n", core);
vTaskDelay(1000 / portTICK_PERIOD_MS);
}
}
void setup() {
// Initialize serial communication
Serial.begin(115200);
// Initialize the onboard LED pin
pinMode(LED_PIN, OUTPUT);
digitalWrite(LED_PIN, LOW);
// Create the LED task
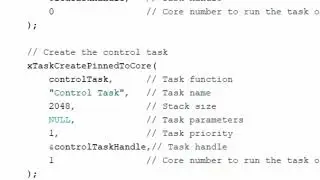
xTaskCreatePinnedToCore(
ledTask, // Task function
"LED Task", // Task name
2048, // Stack size
NULL, // Task parameters
1, // Task priority
&ledTaskHandle,// Task handle
0 // Core number to run the task on (0 or 1)
);
}
void loop() {
// put your main code here, to run repeatedly:
}