How to Create a stylized cartoon jet in Blender 3.4 | Blender Tutorial | Procedural Flame
Blender is an incredibly versatile 3D software that can be used to create a wide range of projects, from creating intricate visual effects for movies to designing stunning artwork and illustrations. In this Blender Tutorial, we will be learning How to Create a stylized cartoon jet in Blender 3.4, with easy and simple steps that are suitable for beginners to advance. In addition to using modeling techniques with Mirror and Solidify modifiers, we will also explore Procedural textures and shaders to create a unique look for our jet modeling blender. And to top it off, we will add a cool touch by creating procedural flames at the end of the cartoon space rocket!
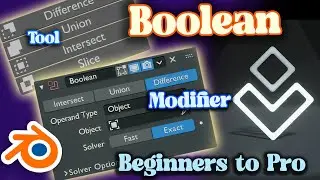
Let's start by creating a new project in Blender. Once we have a new project, we can begin by setting up our workspace by selecting the "Solid" view mode and "Front" view mode from the "View" dropdown menu. We can then create the main body of our jet by using the Cube object and scaling it down to the appropriate size. We can then add a Cylinder object to create the engine, and use the Boolean modifier to cut out the engine shape from the main body of the jet. We can also use the Mirror modifier to create a symmetrical shape for the jet.
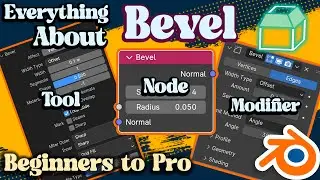
Now that we have created the base shape of the jet, we can start adding more details to it. We can use the Solidify modifier to give thickness to the jet's body, and add more cylinders to create the wings and tail of the jet. We can also add more details to the engine by using the Bevel modifier to create a rounded shape and adding some edge loops to give more definition to the shape.
Next, let's add some materials and textures to give our jet a more stylized look. We can use Procedural textures and shaders to create a metallic or glossy look for the spacecraft in blender. We can also add some decals or logos to the jet by creating a separate texture and mapping it onto the jet's surface.
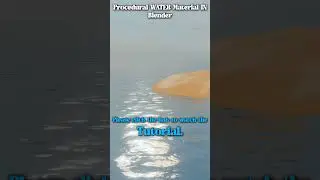
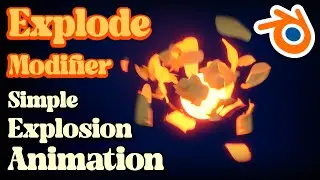
Now, let's add the procedural flame to the end of the rocket. We can start by creating a cone shape at the back of the engine. We can then add a particle system to the cone and set it to emit particles in a random direction. We can use the Noise texture to add some randomness to the particle motion, and use the Color Ramp node to adjust the color of the flames. We can also adjust the size and speed of the particles to get the desired effect.
Finally, we can add some lighting and camera setup to our scene and render out the final image of our stylized cartoon jet. We can use Blender's built-in rendering engine or use external renderers like Cycles or Eevee to render out our final image.
In conclusion, this sci-fi blender tutorial covers essential modeling techniques like Mirror and Solidify modifiers, as well as more advanced techniques like using Procedural textures and shaders to create a unique look for our jet. And to add a cool touch, we also created procedural flames at the end of the rocket. With some practice and experimentation, you can become a skilled Blender 3D artist and create stunning artwork and illustrations using Blender. So, let's get started and unleash our creativity with Blender!
#blender #procedural #jet