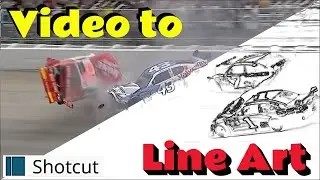
Add Transparent Pointers to Videos (Shotcut Tips)
This is a step by step Shotcut tutorial on how to addd transparent pointers or graphics using Shotcut . This is a simple process that will enhance your informational videos by focusing attention where you need it, without distracting the video. I focus on using a pointer in this video, but you can use any transparent PNG or JPG file.
The tutorial assumes you already have a working knowledge of Shotcut, but you don't need to know about Keyframes.
Using Shotcut is the simple, free way to turn your video into a YouTube video. In this beginner tutorial, I walk you, step by step, through the process of converting your raw video into a professional level video, suitable for publishing on YouTube or any where else.
These tips will work on any video you want to edit. Using Shotcut you can create Professional level Shorts videos with just a little bit of practice.
I'm a working man that can use all the friends I can get. 😀 Please subscribe, it only takes a click. Thank you.
If you like it, hit the LIKE button. It'll make me feel good and help broaden the channel by promoting the video.
Shotgun for Beginners- Full Tutorial- • Shotcut for Beginners- Step by Step Walkth...
Multiple Video Tracks (Shotcut for Beginners) - • Shotcut- Multiple Video Tracks (Shotcut Tu...
Keyframes (Shotcut for Beginners) - • Shotcut- Introduction to Keyframes (Shotcu...
Audio Tracks (Shotcut for Beginners) - • Shotcut- Audio Tracks (Adding and Editing...
00:00 Intro
00:32 Add Video Track
00:40 Add Graphic
00:59 Size, Position, Rotate Filter
01:25 Transparency
01:46 Reposition
02:13 Time Saving Tip
02:54 All pointers added
03:14 Extro
03:35 Bonus Short
#shotcut
#videoediting
#fyp
#animation