Creating a PHOTOPOLYMER PRINT on our Vandercook *start to finish
#vandercookSP15 #printmaking #sparkboxstudio
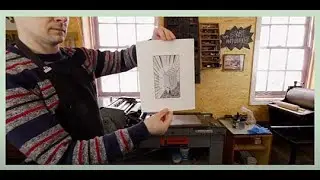
In this episode of Artist Confessional we follow Kyle around the printshop as he prints "Division" - a photopolymer relief print - on our Vandercook SP15.
🖼 DIVISION PRINT: https://sparkboxstudio.com/product/di...
🖥 SPARK BOX WEBSITE: https://sparkboxstudio.com/
💕 SUPPORT US ON PATREON: / sparkboxstudio
📷 INSTAGRAM: / sparkboxstu...
👍 FACEBOOK: / sparkboxstudio
💌 ART PRINTS BY CHRISSY & KYLE: https://sparkboxstudio.com/store/
📎 SHOW NOTES:
Photopolymer plate: KF95 Toyobo Plate
Positive Film: Camstat Graphic Supply Ink Jet WP Film
Paper: Above Ground Art Supply Legion Print Smooth White
Plate Base: Standard Boxcar Base
Plate Adhesive: Boxcar Film Adhesive
Platemaker: Nuarc
Plate Brush: Lee Valley World's Kindest Nail Brush
Ink: VanSon
⏰ TIME STAMPS:
0:00 Intro
0:47 Explaining what is going to be printed and how
1:30 Why make a relief print using photopolymer plates?
2:51 Working with scientific imagery
3:32 Preparing the image for the plate
4:25 Preparing paper registration for the Vandercook
6:57 Taping the plate onto the Boxcar Base
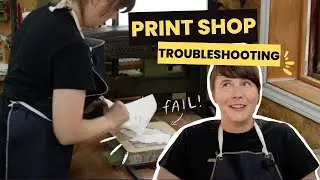
7:45 Confessions on Failure & procrastination
10:12 Shooting a new polymer plate
11:58 Registering the plate and Boxcar base
14:18 Ready to print!
14:37 Adjusting registration
16:32 READY TO PRINT
18:18 Clean-up
20:16 Printing is done, what's next?


![V o l g a P a r a l l e l R e a l i t y 005 [ Backrooms series ]](https://images.mixrolikus.cc/video/2mTCXH2qGsA)