How To Use 3D Texture to Make 3D Prints Look Amazing - Tutorial
Since Solidworks 2019 came out, I have been obsessed with the 3D texture function. 3D texturing has been used in more art-focused 3D modeling programs like Maya or 3DS Max for a long time, but never before in a mechanically-focused program like I’m used to.
Tutorial Link: https://www.cadimensions.com/blog/how...
I love 3D texturing because it makes your 3D prints look amazing, and it helps hide the layer lines. Solidworks makes it really easy to apply them to your models. Let’s walk step-by-step through the process of making these awesome 3D prints.
Step 1. Find or make an image. Some images work better than others. The best images will be black and white, and probably only black and white. Some shades of gray are okay too.
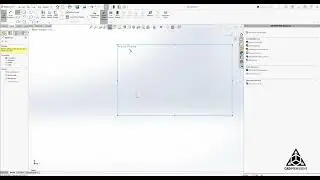
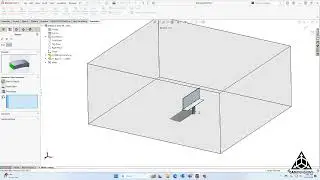
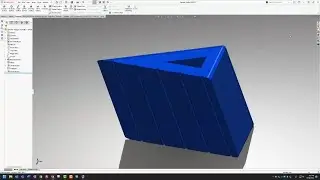
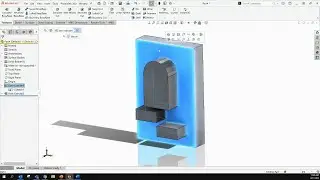
Step 2. Select faces you want to apply the texture to.
Step 3. Select the image from your computer to apply to the face. SolidWorks will want you to save it as a new appearance file. Do that.
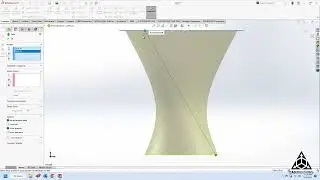
Step 4. You can choose different types of appearance placement and mapping on each face. I like to use “automatic”, and “projection” most often. Flat faces are easy, but curved surfaces get more complicated. You can scale, rotate and position the image pretty easily.
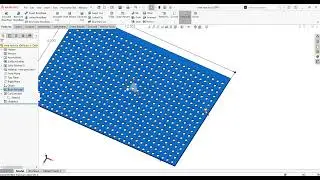
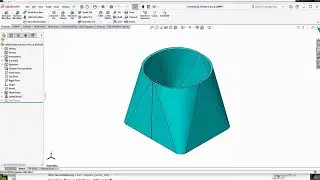
Step 5. Create 3D Texture. Go to Insert-Feature-3D Texture. Here is where you check each face that has an image applied that you want to convert to 3D Texture. We’ll check all of them. Then one-by-one, we set the level of detail we want for each face, and the amount of offset. I like to use roughly 60% definition-or “detail”, and 0.5mm offset from the surfaces. Lighter colors will extrude from the model’s surface, while black will stay in line with the surface.
The Cast and Crew:
Adam Fasnacht - / adamfasnacht
#3dprinting #tutorial #3dprintingtutorials