Revit Electrical Project Set up
Setting up an electrical project in Revit involves several steps to ensure that your project is organized and set up correctly. Here's a basic guide to setting up an electrical project in Revit:
Start a New Project:
Open Revit and select "New" from the startup screen.
Choose the appropriate template for your project. For electrical projects, you can start with the "Electrical" template.
Project Units and Settings:
Set the project units to the desired units (e.g., feet and inches, meters).
Adjust other project settings as needed, such as project location and project information.
Set Up Levels and Grids:
Define the levels and grids for your project. This helps in organizing and aligning your electrical elements.
Go to the "Architecture" tab and use the "Level" and "Grid" tools to set up your levels and grids.
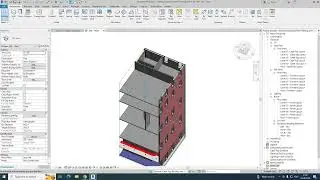
Link Architectural and Structural Models (if applicable):
If your project involves electrical work within a building, link the architectural and structural models to your electrical project. This helps in coordination and ensures that your electrical elements align properly with the building structure.
Go to the "Insert" tab and use the "Link Revit" tool to link the architectural and structural models.
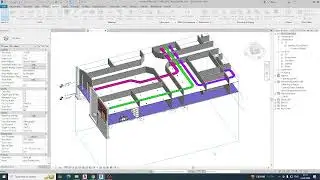
Create Electrical Systems:
Define the electrical systems for your project, such as power, lighting, fire alarm, communication, etc.
Go to the "Systems" tab and use the appropriate tools to create these systems. You can also define custom systems as needed.
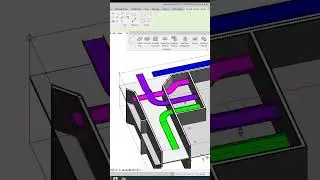
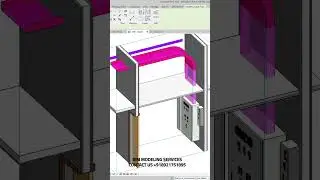
Place Electrical Fixtures and Devices:
Start placing electrical fixtures, devices, equipment, and components in your model.
Use the "Electrical" tab to access the various electrical components available in Revit. You can place outlets, switches, lighting fixtures, panels, conduits, etc.
Define Electrical Circuits:
Define electrical circuits for your project to represent the flow of electricity. You can assign devices to circuits, specify circuit loads, and ensure proper circuiting throughout the building.
Use the "Electrical" tab to define circuits and assign devices to them.
Create Electrical Drawings:
Generate electrical drawings such as plans, sections, elevations, and schedules to document your electrical design.
Use the "View" tab to create new views and sheets for your drawings. You can also customize view templates and add annotations as needed.
Coordinate with Other Disciplines:
Coordinate your electrical design with other disciplines such as architecture, structure, and mechanical to ensure proper integration and coordination of building systems.
Use tools like "Worksharing" to collaborate with team members working on different aspects of the project.
Review and Verify:
Review your electrical model to ensure accuracy and completeness.
Verify that your electrical design complies with relevant codes, standards, and project requirements.
By following these steps, you can effectively set up an electrical project in Revit and begin the process of designing and documenting your electrical systems within a building project.