Here's How to Write G-Code for U Drill Drilling and Rough Boring
In this video, Marc from @GCodeTutor shows us how to write a sequence of G-Code to both drill and rough bore using a U-Drill.
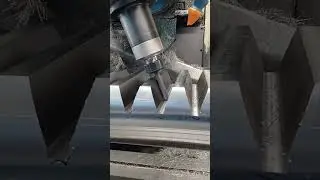
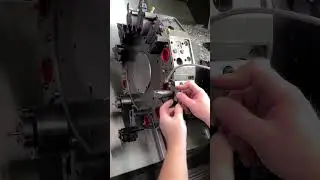
Marc starts off by writing the G-Code that sets our machine in a safe working state before moving on to the drilling section. When drilling with a U-drill, we write the G-code as we would for a standard point-to-point drilling operation without using cycles. Once the hole has been drilled, we can then offset the U-drill to use it as we would a boring bar.
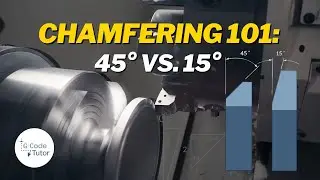
Marc talks about the calculations we need to do to work out the offset amount to produce a bore with a finishing allowance for a later finish bore operation.
To complete this sequence, we then finish writing the rest of the G-code to return our tool to a safe place, ready for the next tool change.
To learn more about programming with G-Code, head over to https://gcodetutor.com, where Marc has a range of free articles and paid courses to teach you how to program these fantastic machines.
~~~~~~~~~~~~~~~~~~~~~~~~~~~~
If you want any more information about these codes or other G-code information, head to
Website: https://gcodetutor.com/
Facebook: / gcodetutor
Twitter: / gcodetutor
YouTube: @GCodeTutor
Pinterest: https://www.pinterest.co.uk/gcodetuto...
~~~~~~~~~~~~~~~~~~~~~~~~~~~~
Practical Machinist is the largest and most engaged #metalworking community across the web. With more than 200,000 registered members and 400,000+ social media followers, Practical Machinist is the easiest way to learn new techniques, get answers quickly, and discuss common challenges with your peers. Visit Practical Machinist today to join the community and start connecting with your peers.
Become a Practical Machinist member (https://www.practicalmachinist.com/)
Like us on Facebook ( / practicalmachinist )
Follow us on Instagram ( / practicalmachinist )
Follow us on Twitter ( / prac_machinist )
Follow us on TikTok ( / practicalmachinist )
Connect with us on LinkedIn ( / practical-machinist )
#machining #cncprogramming #gcode